Menu
Your Cart

Shop now and get upto 10% off storewide.

Recipe Roti


These Indian breads are quite easy to make once you get the hang of it. They are ideal because they are filling, versatile and can be eaten cold the next day as a portable snack. They should be light, soft and flaky. If yours turn out heavy and a bit leathery you probably did not cook it on a high enough heat as happened to me the first time that I made them. The authentic way to cook them is on a Tawa a sort of cast iron flat pan. If you cannot get hold of one use a heavy frying pan but the only problem you will have is turning the roti over because of the sides of the pan. You may have to use a fork to do this. Probably a griddle pan will work just as well. Always cook the roti dry , to add fat to the pan will fry it and make it like a board. 

Ingredients:

250gms of plain brown flour,
organic is best of course.
1/4 teaspoon salt 
1 desert spoon of oil (any)
1/2-1 cup filtered water

Method:
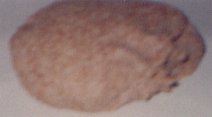


Put the flour into a very large bowl, add the salt then the oil and mix in by hand. Hold your hand over the flour mixture and pour water into the cupped palm. Mix this into the flour. Repeat 3 times more until the mixture has formed a large ball and is a similar consistency to pastry. I need to add about 5 handfuls of water because my hands are small. Press the dough out in the bowl with your knuckles at this stage it will be approx. about 2cms thick and have moon craters on it formed from the indentation of your knuckles. Sprinkle another handful of water over to moisten the surface and leave for about 5/10 minutes. This would be a good point to start heating up the pan. Heat it dry on full heat, you can turn it down slightly once the first roti has cooked. Gather into a ball again, knead with the knuckles for about 1/2 a minute then put on one side of the dish.
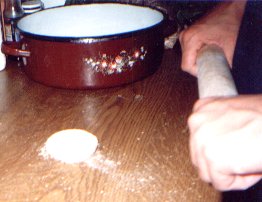


Put about 2 tablespoons of flour on the other side of the dish. Pinch off a small ball of dough, about tangerine size, dip it in the flour then roll and flatten between your palms. Dip this small dough cake again in the flour then place on a floured work surface.
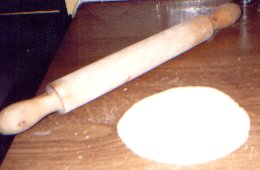

Roll it out into a flat circular pancake shape. The secret of how to keep it round is to turn it a 1/4 turn anticlockwise with the left hand between each 2 rolls. It should be just smaller than a tea plate do not roll it out any larger or you will not be able to pick it up to cook it.


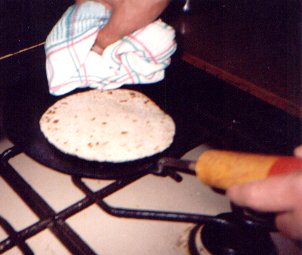
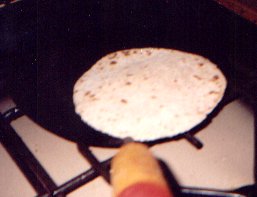
By this time the pan should be really hot. Put the roti onto the centre of the pan. It will start to dry slightly on top and after about 20 seconds it will become loose from the pan and you will be able to carefully slide it to the side of the pan and turn over putting it down into the centre again. It takes practice to do this with your fingers and you may want to use a fork or a cloth. After about another 20 seconds slide it to the edge of the pan and pick it up to check the colour underneath. As you do this keep the roti cooking on the side of the pan so that only a quarter of the roti is in the centre and cooking at any one time. You are looking for brown spots to prove that it is cooked. When you see brown spots on the under sides turn it round and cook the next quarter.  Turn the whole roti over again (brown spotted side up this time ) and place in the centre of the pan again. The heat this time should cause the roti to puff up. Press down on one side with a clean cloth and at the same time turn the roti 1/4 turn clockwise (if right handed) (step 4)


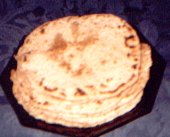
This spreads the air throughought the roti and helps to make it light. If the pan is not hot enough it does not puff up and that is why it will turn out heavy. (step 5 shows the puffed roti). Be careful as you press the air because it will escape out the sides of the roti and will burn you if your hand is in the way at the time. Remove from the pan and put on a side plate. To get a real authentic Indian taste rub a desertspoon of melted ghee onto the surface. Continue with the others in the same way stacking them ghee sides together as you would a pile of buttered toast (if you haven't forgotten what that is) as in the picture at the top of the page.

(Courtsey Nutritional Therapist Pamela Singh)